
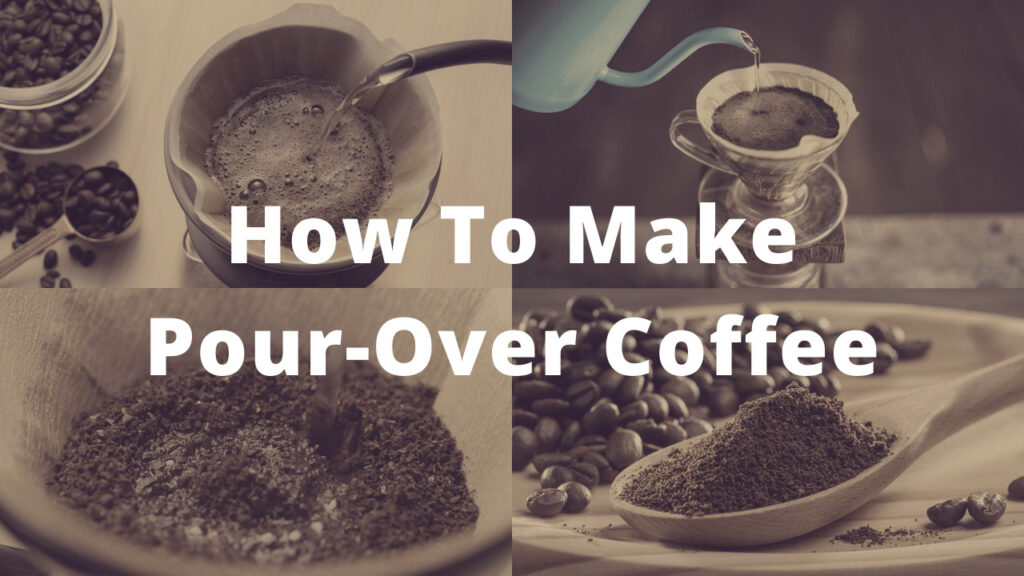
Here is a step-by-step guide on how to make pour over coffee. Making pour over coffee may seem overwhelming in the beginning but today I am here to make it simple for you!
Pour over drip coffee is one of the best brewing methods when you want to enjoy the subtle flavor notes of your coffee beans.
Before you read ahead, I recommend purchasing high quality filters whether it’s paper, metal or cloth. If you use a low quality filter your coffee may taste a bit like the material that you are using.
What Is Pour Over Drip Coffee?
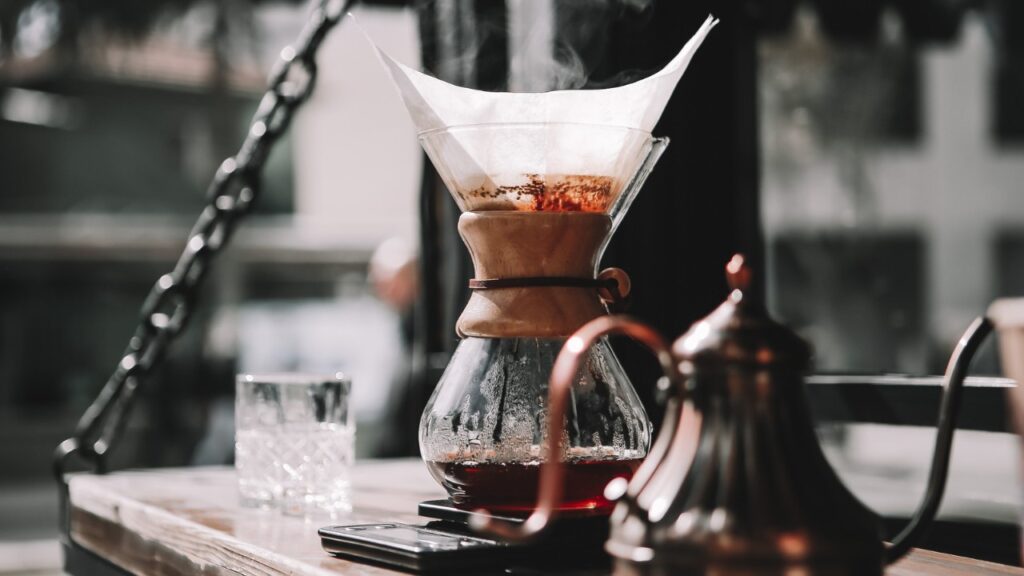
The pour over method includes blooming hot water with coffee grounds in a paper, metal or cloth filter. The bloomed coffee is then filtered and dripped through into a pour over cone and mug to catch the coffee. This method is also known as filtered coffee or drip coffee and is one of the most common brewing methods.
Why Use Pour Over?
Compared to other methods, the pour over coffee method is known to bring out unique flavors. High quality filter coffee tastes clean and consistent. This is because every drip of water is fused and bloomed with the coffee grounds. It extracts these coffee hints and oils at its own consistent time and pressure.
Necessary Equipment
Before learning how to make pour over coffee, you will need the following equipment:
- Kettle
- Water (20 ounces)
- Coffee Beans (3 tablespoons or 30 grams)
- Good Coffee Grinder
- Filter (Paper, Cloth or Metal)
- Scale or Measuring Cup
- Pour Over Cone
- Mug
Steps
1. Heat up water in the kettle
- Make sure to boil twice the amount of water you plan to use.
- Pour some hot water into the dripper after it boils, wait for 1 minute and then empty out the water.
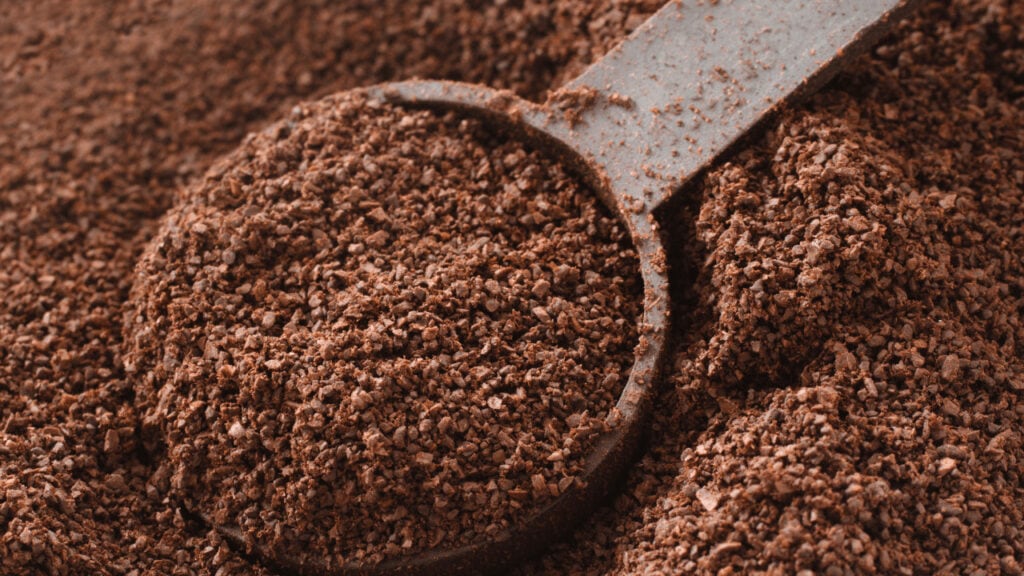
2. Grind coffee beans
- Grind 30 grams of coffee beans to a medium grind.
- If you are unsure about how much coffee beans to use then use 1 tablespoon for every 4 ounces of water.
3. Place the filter into the dripper
- I recommend using a paper filter but you may use a cloth or metal filter instead.
4. Pre wet the filter
- Pre-wetting the filter helps prevent the coffee from tasting papery. It will also help make the coffee less acidic.
5. Pour in the coffee grounds
- Gently shake the grounds to level the surface for even extraction.
6. Place the the brewer on a carafe
- Place both the brewer and the carafe onto a scale and set the scale to zero.
7. Gently pour water into the coffee grounds
- Pour water onto the coffee grounds just enough to damp the grounds.
- Use a timer and let the grounds sit for 30-45 seconds.
8. Pour a second time
- After blooming, you can begin your second pour.
- You can either use pulse pouring or continuous pouring, read below if you are unsure about these techniques.
- Pour the remaining water you planned on using with the second pour.
- If it drips too quickly then your coffee grind may be too coarse and if it drips too slowly then your coffee grind is too fine.
9. Take the filter out
- Once the coffee has drained through the filter, take the filter out.
10. Let the coffee cool down
- Let the coffee cool down for 2-3 minutes.
- Did you know that drinking hot liquids can increase risk of cancer in the oesophagus.
Pour the coffee into a mug
- You are now ready to serve!
The Perfect Grind Size
Your ground coffee size will affect the extraction rate. Pour over coffee is an example of an infusion method. Infusion methods have shorter contact time between water and coffee grounds. Immersion methods have a longer contact time.
The aim for infusion methods is for the coffee to have sufficient surface area to extract before the drip process begins. The extract shouldn’t be too long as well because it will give a bitter taste.
To sum this up, I recommend beginning with a medium grind size and then adjusting the grind as you evaluate the cup. Go for a coarser grind if the coffee is bitter and lacks sweetness. If the coffee is too watery and acidic, then go for a finer grind.
The Best Roast Profile
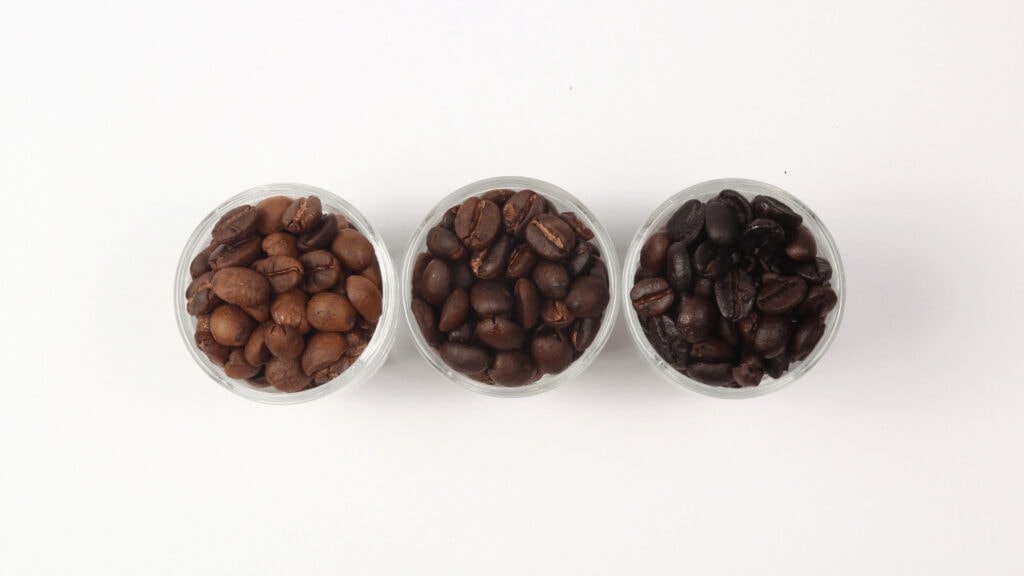
Since the pour over coffee method is effective in highlighting the subtle flavor hints and aromas, a light roast is best recommended. A light roast will bring out the most bright and acidic flavors.
You can go for a medium or dark coffee roast but it will not bring out these subtle flavors in which pour over coffee is best at.
Best Water To Coffee Ratio To Use

The ideal water to coffee ratio is 1:17 (1 gram of coffee to 17 grams of water). Start off with this ratio and then you can tweak and adjust the factors for the best taste. Factors that will affect the ratio are the grind size and water temperature.
To adjust the taste, don’t change the above factors yet but rather focus on the water to coffee ratio.
If the coffee tastes weak and watery, then increase the amount of ground coffee. If the coffee is too strong to enjoy then use less ground coffee. I don’t recommend playing with the water ratio. Water contains lots of minerals which can affect the taste of your coffee.
Make sure to write down your ideal water to coffee ratio for perfecting your brewing next time.
Which Pouring Technique Is Best?
When you first learn how to make pour over coffee, I recommend starting off simple instead of trying fancy techniques.
Try to be consistent when you pour. Learn how to use the blooming, pulse and continuous pouring techniques first. This will help you result in even extraction.
Baristas usually pour in concentric circles to maintain a steady flow of water.
The two pouring techniques are pulse pouring and continuous pouring.
Pulse Pouring
This involves pouring in intervals by pouring certain amounts of water multiple times. This technique gets the best extraction as you are preventing the temperature from reaching a high temperature.
Pulse pouring helps channel the coffee grounds from rising to the edge of the filter. This technique takes practice but once you get this method right, it will help with agitation.
Continuous Pouring
This technique involves pouring at a consistent rate without any rests between. Continuous pouring is harder to maintain consistent flow but keeps the temperature high.
Since there is less agitation with this method, this single pour technique will extract less than the pulse pouring technique.
The aim of this technique is to maintain the flow and saturation for as even extraction as possible. This technique is easier to learn but the results are not as effective as pulse pouring.
What to do next?
Learning how to make pour over coffee is not so bad after all. Now it’s time to perfect your pour over coffee making skills, keep practicing and you’ll be as good as a pro barista!
For more guides, make sure to check out our guide on how to use a french press.
Such good advice. Best pour over coffee I’ve ever had!